Aluminum Channel for LED Strips: Why It's the "Default Setup" for Almost Every LED Linear Lighting Project
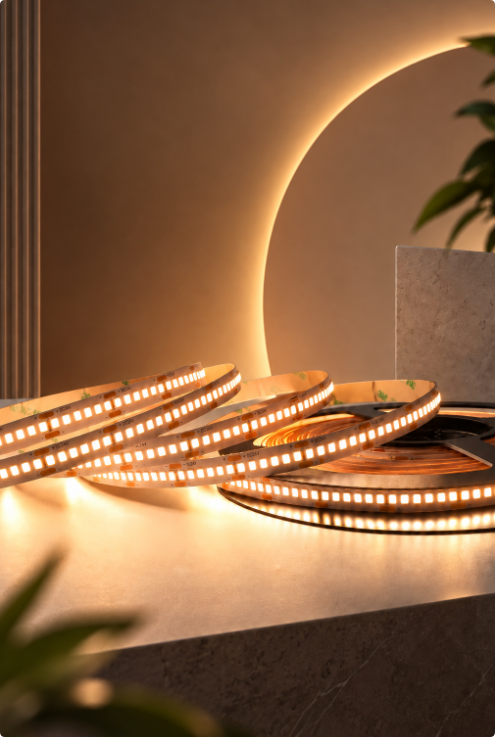
In most LED linear lighting installations, the aluminum channel for LED strips typically serves as the foundational mounting structure, widely used in standard linear lighting setups to secure, protect, and provide basic light diffusion for the LED strip.
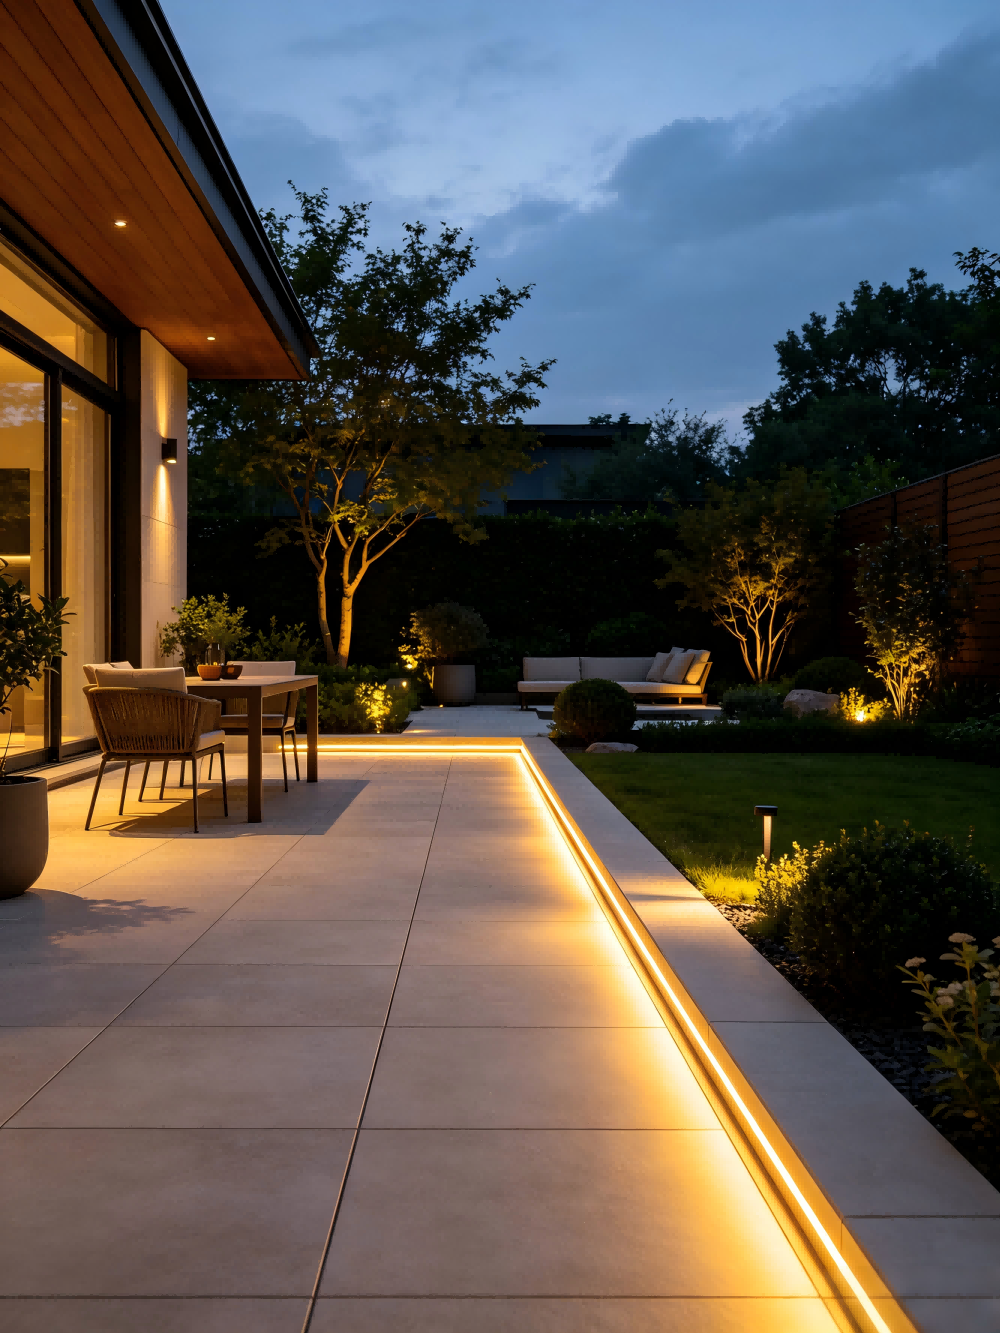
But once a design moves into more detailed architectural treatment — particularly at tile edges, stone joints, wall corners, and transitions between different materials, or even outdoor landscape walls, façade trims, and patio paving edges — this conventional approach starts to show its limitations.
For this kind of precision-driven architectural edging and linear light integration, the design focus shifts from a "universal mounting structure" toward "boundary-integrated expression."
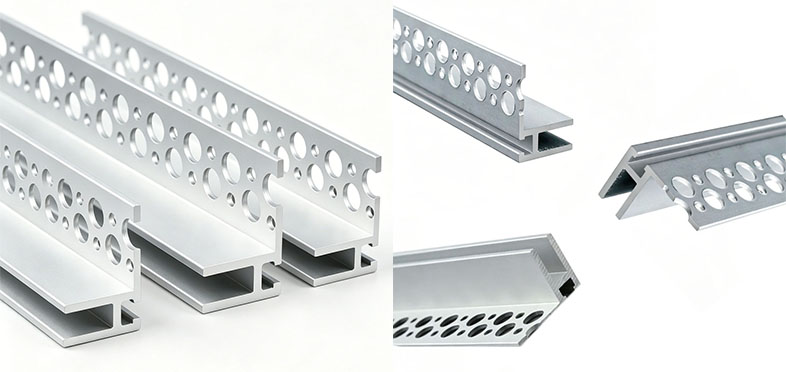
Driven by this trend, the Tile Edge LED Strip Light Channel has emerged as a more purpose-built structural solution, designed specifically to integrate linear lighting at tile, stone, and architectural edge transitions.
Tile Edge LED Strip Light Channel Application
Building on this, the application of the Tile Edge LED Strip Light Channel extends well beyond tile edge detailing alone. It can be adapted to a variety of architectural interfaces to reinforce visual continuity and spatial layering across a project.
In real-world projects, this type of linear edge-lighting system is typically used in the following scenarios:
1. Architectural Boundaries and Structural Outlines
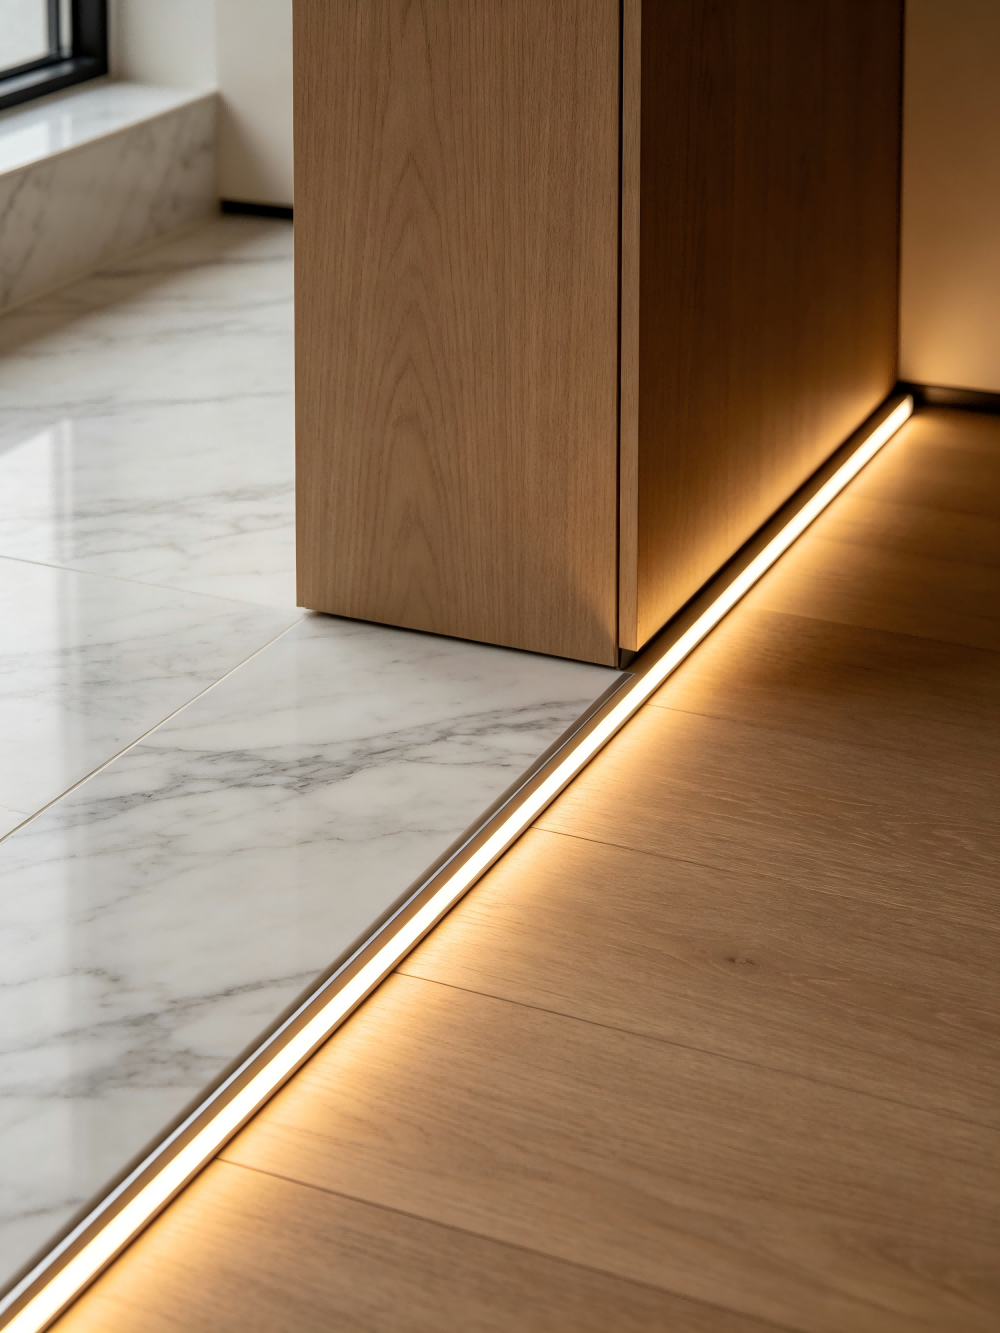
At façades, stone edges, and material transition points, the system is mainly used to reinforce the continuity of architectural outlines, letting light extend naturally along structural edges to create a clear sense of spatial boundary. In these structural transitions, a tile-edge profile helps maintain a clean, consistent line where two surfaces meet.
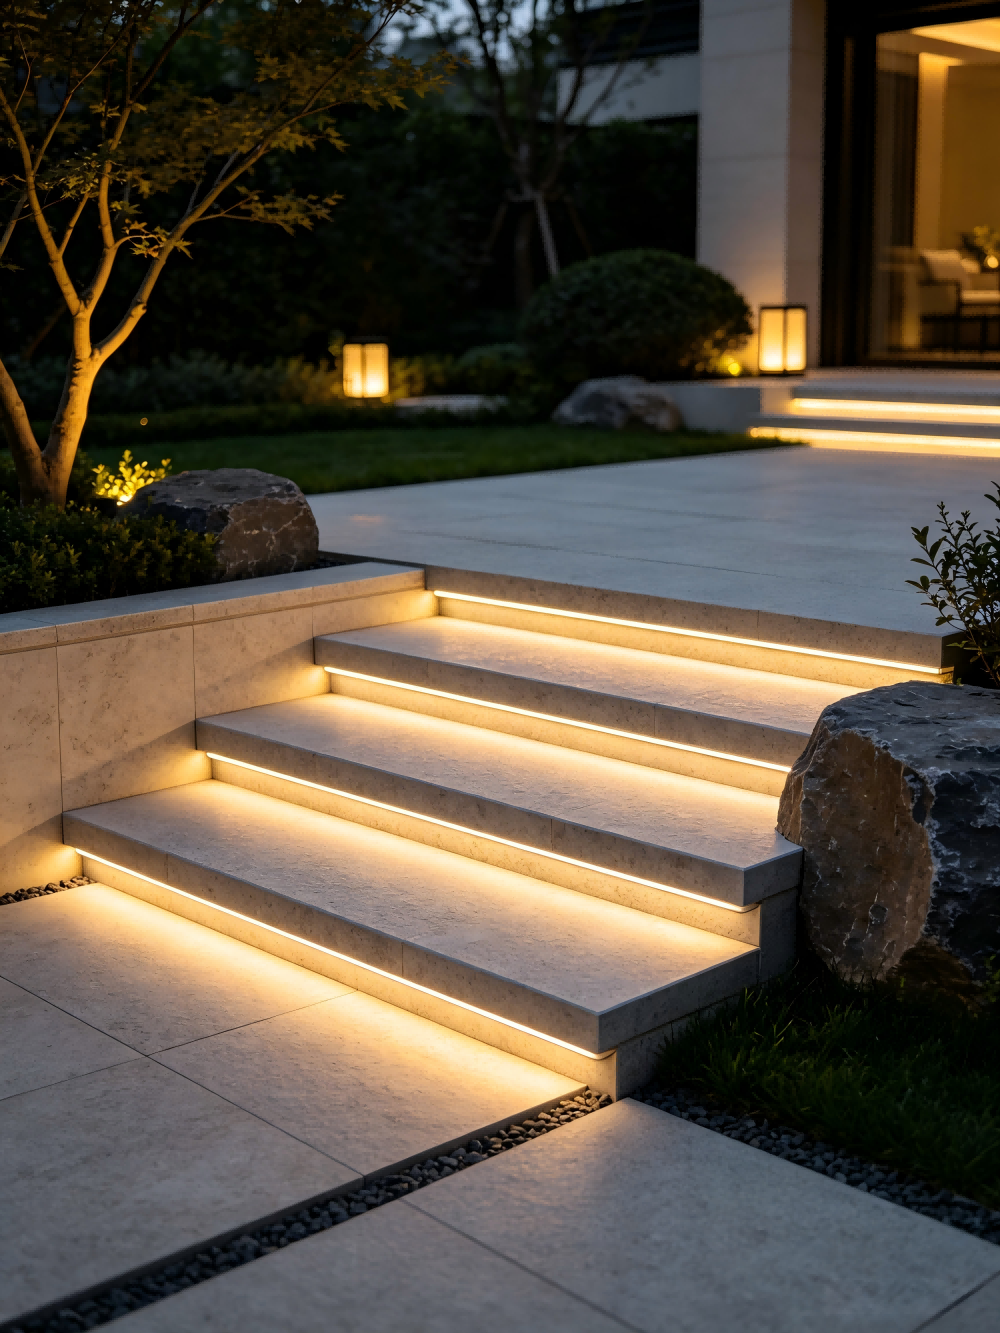
2. Linear Guidance Lighting for Staircases and Corridors
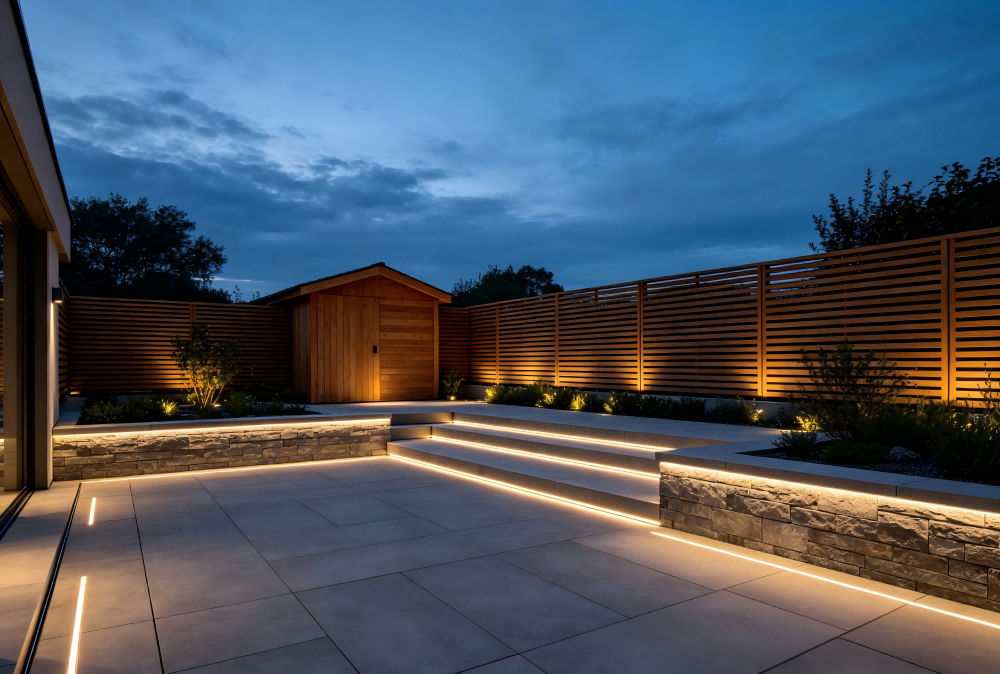
On stairs, treads, and corridors or passageways, linear light is used to establish a visual guidance path — a continuous rhythm of light that improves both safety and directional clarity. For these applications, a recessed tile edge LED profile is often preferred, allowing the light source to sit flush within the structure rather than projecting outward.
3. Interior Ambiance and Spatial Layering
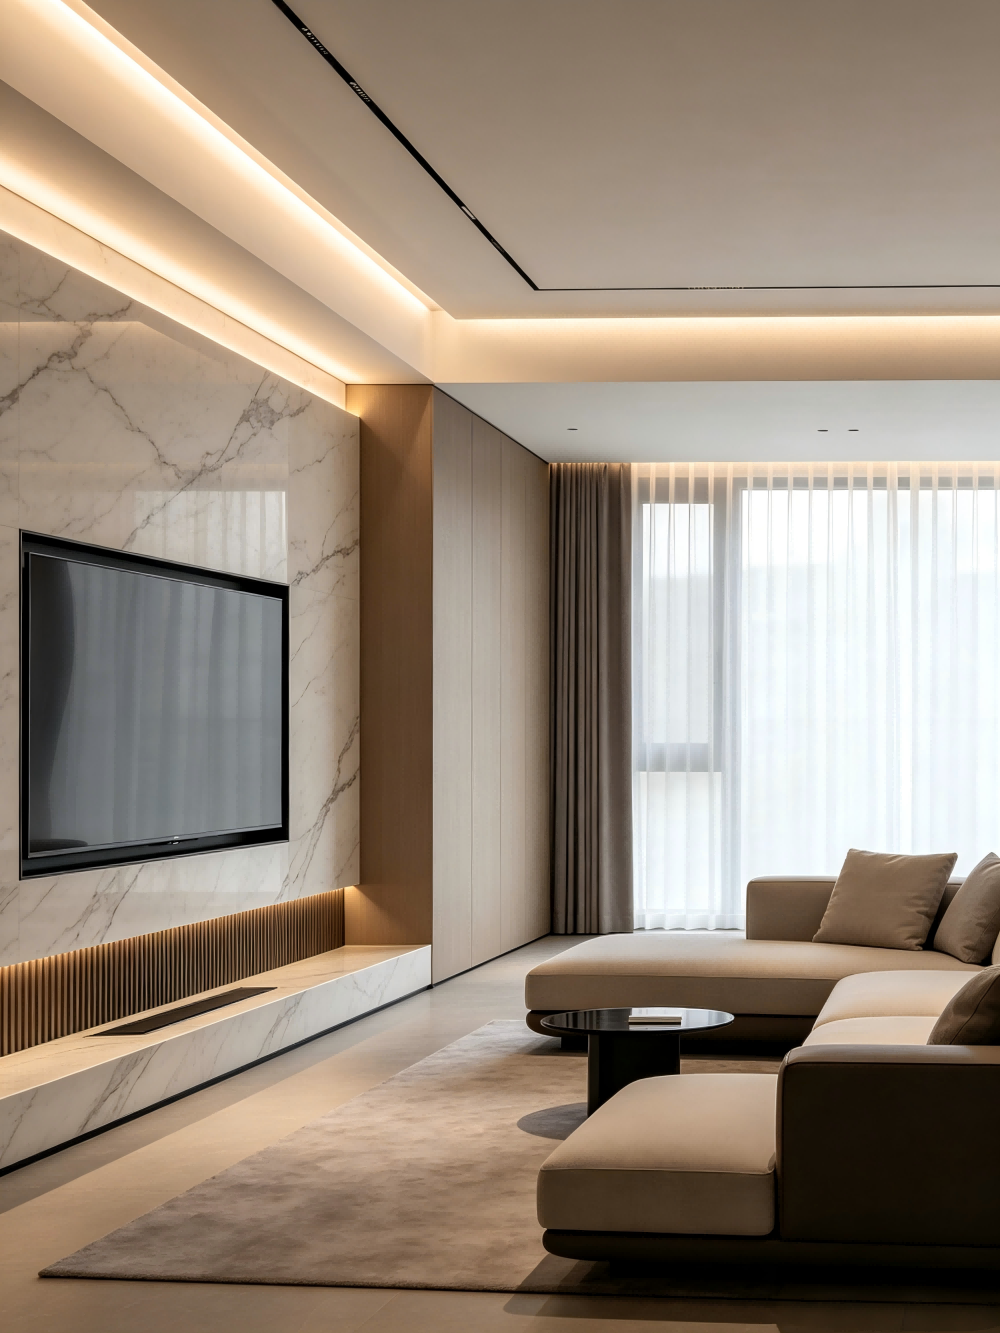
In residential, commercial, and office spaces, the system is commonly used on feature walls, ceiling transitions, or localized structural lighting, where soft linear light enhances spatial depth and visual comfort.
4. Commercial and High-End Applications
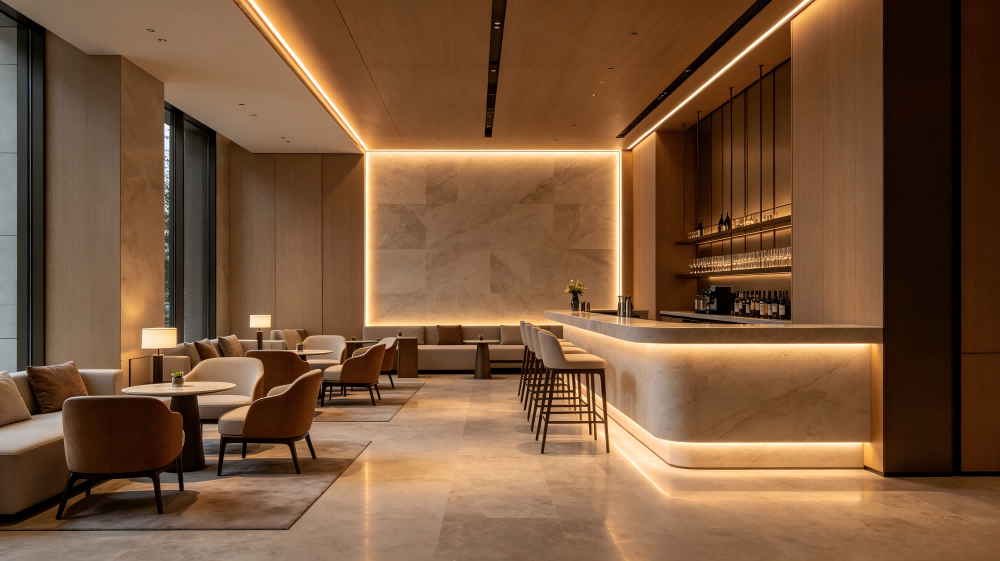
In restaurants and hospitality projects, Tile Edge systems are typically used to shape overall ambiance — concealed linear lighting reinforces the design language of the space, turning light into part of the experience rather than a standalone source. A Tile Trim LED Profile is well suited to this kind of discreet, integrated application.
Through this kind of structural adaptation across different spaces, the Tile Edge system delivers a more unified linear light expression while preserving a consistent architectural edging logic.

What Is Tile Edge LED Strip Light Channel?
Tile Edge LED Strip Light Channel is an embedded LED profile designed for seamless integration into wall, floor, tile, stone, or masonry edge areas. It's also commonly known as a "mud-in profile," tile-edge profile, recessed tile edge LED profile, Tile Trim LED Profile, or "tiled-in aluminum channel."
The profile is extruded from high-quality aluminum alloy and finished with anodized surface treatment, giving it strong resistance to corrosion and oxidation — maintaining structural stability and a consistent appearance even after long-term use in damp or outdoor environments.
Functionally, it not only provides a stable embedded mounting structure for the LED strip, but also leverages the thermal conductivity of the aluminum itself to help dissipate heat from the strip, reducing lumen depreciation and extending overall service life. In addition, its embedded structure protects the LED strip during installation, reducing the risk of impact damage and lowering long-term maintenance needs.

Product Features
Outdoor Linear Lighting Structural Solutions
The Tile Edge LED Strip Light Channel features a built-in 6mm mounting groove for LED strips, and is recommended for use with LW Lighting's Edge Waterproof Neon LED Strip. This neon strip uses a high-density LED packaging structure to deliver a continuous, even glow with no visible dots or dark spots, producing a softer, more refined, and textured light output after diffusion.
LW Lighting's Edge Waterproof Neon LED Strip was developed specifically to match the dimensions of this channel, creating a stable, visually appealing linear lighting effect along with excellent outdoor protection performance.

This combination is particularly well suited for engineering contractors, architects, and landscape lighting designers, and is widely used in:
- Park landscape lighting
- Pedestrian walkways and bike paths
- Plazas and urban public spaces
- Architectural façade outline lighting
- Commercial complex landscape projects
- Courtyard and garden lighting projects
It's especially suited to outdoor environments with demanding requirements for IP rating, weather resistance, and optical consistency, delivering high-quality linear lighting that combines both safety and decorative appeal.

Material and Performance Advantages

Most aluminum profiles on the market are less than 1mm thick, while our aluminum channel for LED strips is built at 1.5–2mm, offering greater structural strength and better thermal conductivity. This helps the LED strip maintain a stable temperature during long-term operation, extending the light source's service life and reducing the risk of lumen depreciation.
Building-Integrated Installation
With its edge-embedded structural design, the tile-edge profile can be integrated directly into the tile or stone edging system during installation, completing the install alongside the finish layer for a fully unified result between the channel and the architectural structure.
Linear Lighting Effect
Through this embedded installation method, the LED strip sits completely within the architectural structure, visually eliminating the presence of the fixture itself and leaving only a clean, continuous boundary of linear light — reinforcing spatial cohesion and architectural expression.
High Strength Heat Dissipation
1.5-2mm thick 6063-T5 aluminum alloy, excellent heat dissipation, effectively avoids LED light decay and prolongs the service life of light strips.
Product Specification
Below Is LW Lighting’s Product Specification
In addition to the standard specifications above, LW Lighting also offers flexible OEM and ODM customization services to meet the needs of a wide range of architectural, landscape, and commercial lighting projects.
Customization options cover profile dimensions, length, surface finish, color, packaging, and private labeling. Our engineering team can also provide tailored solutions based on specific installation environments and project requirements, helping clients achieve seamless integration and outstanding lighting performance.
How do you install a tile-in LED profile?
Installing the Tile Edge LED Strip Light Channel Installing an embedded LED strip profile requires careful coordination between the lighting layout, finishing work, and electrical preparation. For the best results, it's recommended to install the tile-edge profile alongside the tile or stone-laying process, ensuring a seamlessly integrated architectural finish.
1. Measure and Plan the Installation Layout
First, measure the total installation length based on the project design plan. It's recommended to leave a small allowance at each end for end caps and cable connections. Standard profile lengths are typically 1 meter and 2 meters. For longer runs, multiple sections can be joined seamlessly. Careful planning at this stage helps ensure a consistent, cohesive linear lighting effect and avoids misalignment during tile installation.
2. Cut the Aluminum Profile
Always wear appropriate protective gear, such as safety goggles, before cutting. While the aluminum channel for LED strips is typically supplied in standard lengths (usually 1 or 2 meters), actual installation spaces often don't match these fixed dimensions. On-site cutting is therefore needed to match real architectural measurements — tile edges, wall runs, corners, or custom layouts.
3. Prepare the Installation Groove
Based on the profile dimensions, create a recess in the tile, drywall, or masonry surface. Use a straightedge or guide rail to keep the groove clean, level, and free of debris. A precise installation base is essential for achieving a flush, seamless lighting effect once tiling is complete.
4. Secure the Aluminum Profile
Place the profile into the prepared groove and secure it with screws or suitable fasteners depending on the substrate material. Make sure the profile sits completely flush with the surrounding surface — any misalignment will affect the final lighting appearance.
5. Apply Grout/Putty (for Recessed/Trimless Profiles)
For recessed profiles that require the edges to be covered with grout, or for trimless profiles, apply grout or putty along the edges to blend the recessed tile edge LED profile seamlessly into the wall or ceiling surface. Reinforce the edges with fiberglass mesh tape or paper tape to improve stability and reduce the risk of cracking later on. For recessed profiles that don't require edge coverage, this step may not be necessary. For floor or masonry installations, use an appropriate construction adhesive or fixing method based on the actual site conditions.
6. Finishing and Surface Sanding
Once the joint compound has fully dried, sand the surface to create a smooth transition between the profile and surrounding materials. High-end architectural projects may require multiple rounds of filling and sanding to achieve a perfectly seamless finish.
7. Install the LED Strip
Fit the LED strip into the aluminum channel, making sure it sits centered and flat. If you need to adjust the length, cut only at the marked cutting points on the strip to avoid damaging the circuit. After cutting, waterproof the connections — this is especially important for outdoor or damp environments to ensure long-term reliability.
8. Power Test
Once installation is complete, run a power test to confirm the LED strip lights up properly, with no flickering, dead spots, or uneven brightness. For longer installations, it's also worth checking power supply stability and overall consistency of light output.
FAQ
What is a tile-in LED edge profile?
The Tile Edge LED Strip Light Channel is an embedded LED profile designed for seamless integration into wall, floor, tile, stone, or masonry edge areas. It's also commonly known as a "mud-in profile," "tile-edge profile," or "tiled-in aluminum channel."
What type of LED strips can be used with this channel?
This profile is designed for 6×12mm side-emitting neon LED strips, with an internal mounting width of 6mm. For outdoor or damp environments, it's recommended to pair it with LW Lighting's IP67-rated waterproof neon LED strip, which delivers even, dot-free linear lighting and ensures long-term reliability.
Can this tile-in LED profile be used in wet areas?
Yes. This embedded, tile-mounted LED profile is designed for outdoor and damp environments, and can be used in wet areas when paired with an IP67-rated waterproof neon LED strip. Its sturdy anodized aluminum construction offers excellent corrosion resistance, while the embedded installation design protects the lighting system and creates a fully integrated architectural appearance.
Can this tile-in LED profile be used in the floor?
Yes. This recessed tile edge LED profile can be embedded into tile or stone flooring to create elegant linear guidance and decorative lighting effects. Its embedded installation design blends seamlessly with the floor finish, making it well suited for hallways, terraces, spa areas, bathrooms, and other architectural lighting applications. For optimal durability, it's recommended to pair it with an IP67-rated waterproof neon LED strip and follow proper installation guidelines.
REQUEST A QUOTE
As architectural lighting continues to move toward minimalism and seamless integration, embedded tile LED profiles have become a key component for achieving clean, cohesive, and professional lighting results.
Ready to start your tile edge lighting project?
If you're planning a new architectural lighting project or looking for a reliable embedded LED profile solution, our team can help you select the best profile and LED strip combination for your specific application.
We offer OEM and ODM customization services tailored to different project needs, covering size specifications, surface finishing processes, and installation design support.
📩 Contact LW Lighting today for technical support, product samples, or a customized solution for your project.
How to Upgrade Traditional LED Lighting with S1-B(WT) WiFi Triac Dimmer Controller
Bring smart control to existing Triac dimmable LED strips without replacing fixtures or drivers. The S1-B(WT) delivers smooth, flicker-free dimming with app, RF remote, push switch, and voice control in one compact solution.
Unified Power Supply Solutions for Multiple LED Strips/ How to Power Multiple LED Strips with One Solution
Learn how to connect multiple LED strip lights to one power supply. Discover wiring methods, power calculations, voltage drop solutions, and installation tips.
Why More Architects Are Integrating LED Lighting Into Slat Wall
Black neon slat wall LED lighting hides into wood slats, giving a dimmable, dot-free glow and bringing a warm touch to modern homes and hospitality interiors.
Recommended News